 The whole point of this renovation was adding a Master Bath. We love living in Toronto and had/have no desire to head to the outskirts, but I will admit to some serious Master Bath envy whenever we’d visit family and friends in the suburbs or surrounding areas.
So this was one room we were seriously going to splurge on.
As the founder of Have Baby Will Travel, I’ve had many amazing travel opportunities over the years. On one trip to Disneyland we had the chance to explore some of Orange County’s beach destinations, and I literally gasped when I saw the washrooms in the guest suites at the Ritz Carlton Laguna Niguel on Dana Point beach.
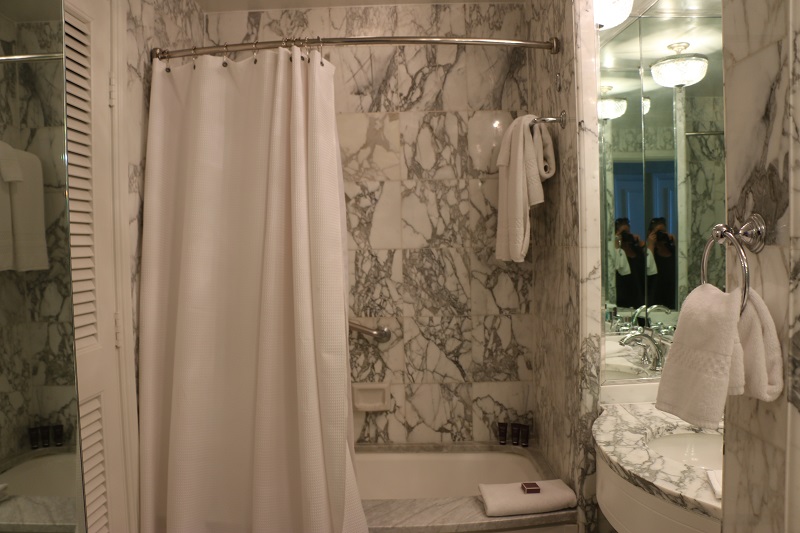
A guestroom bathroom at the Ritz Carlton Laguna Niguel. Bliss.
My terrible photography skills can’t do it justice, but I was mesmerized by all the white and marble. I wanted that look for our Master Bath.
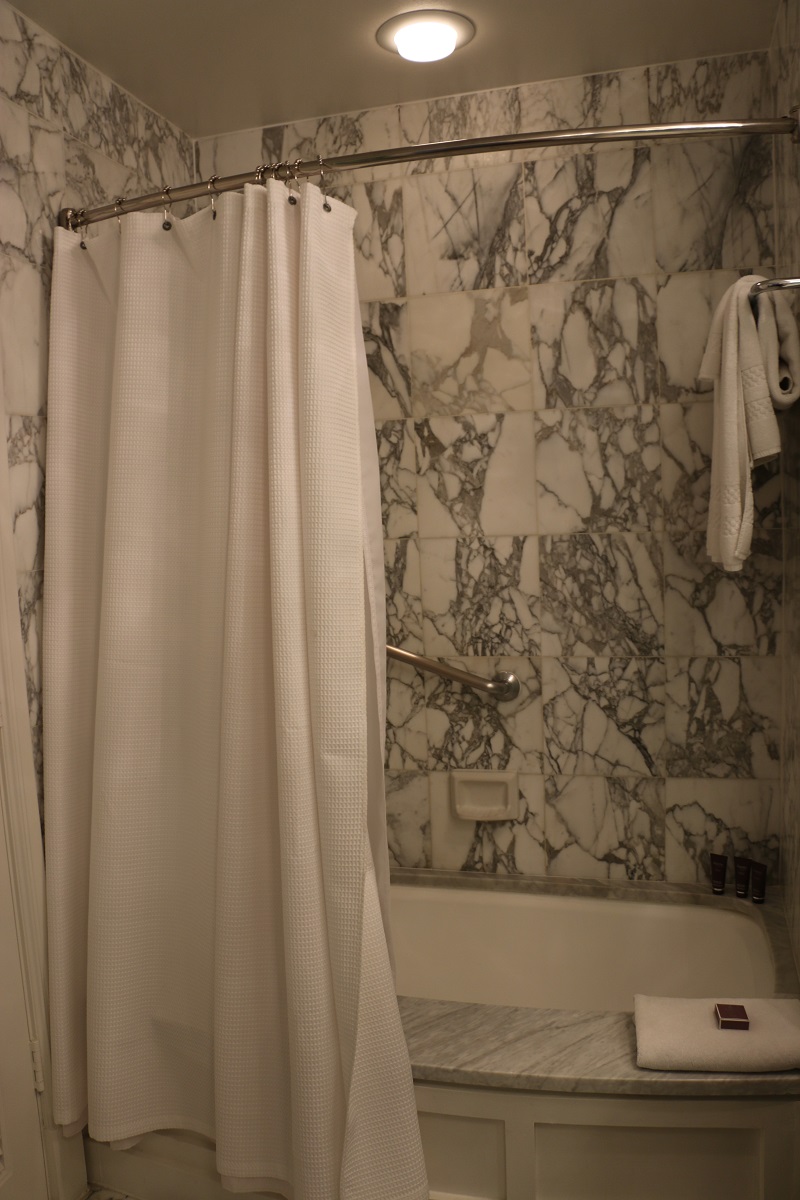
I want to go to there. Yes.
But since my tastes run a little old-school, I took further inspiration from this bathroom featured on the blog Door 16:
I loved that floor.
I was going to have that floor.
I do have that floor. NOW.
Took us a while to get there…
A Marble Hex Tile Disaster: Chapter 1
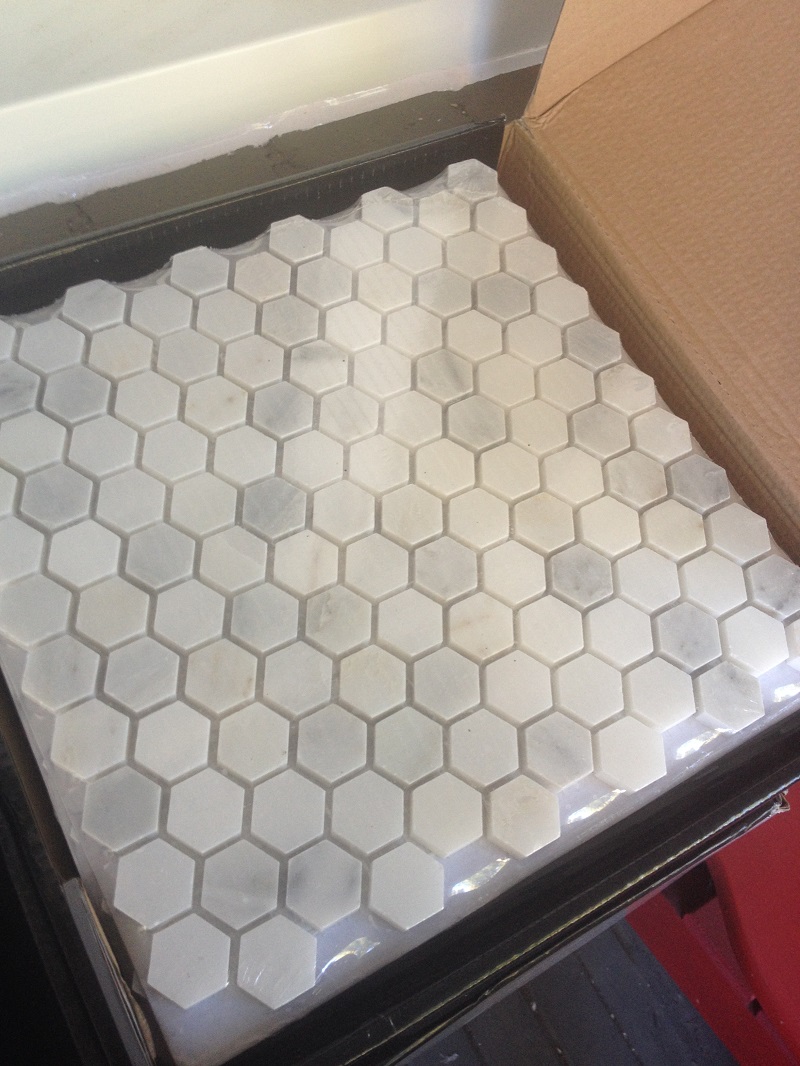
Honed marble hex tiles ordered from Wayfair
I found marble hex tiles on Wayfair that were on sale for $10 per square foot. Even with the exchange and duty, they were still a good deal compared to what I found elsewhere. We were planning on installing the tiles ourselves, as we had experience with that renovating the bathroom in our previous home. Make no mistake, tiling sucks. It’s messy and time consuming, but it isn’t too difficult.
But I wanted our tiles to look awesome. And I’d fixate on the few mistakes we made in our old bathroom, and I wanted to LOVE LOVE LOVE these loos. At first the estimate for tiling both bathrooms (tub surrounds and floors) was $7k. That’s steep. But we approached T. and asked if the price still stood and he had new tile guys who were hoping to work with him and he could check and see.
Turns out we were in luck, or so we thought (dun dun dun).
These new tile guys were available, and would do the job for $3500, half of what we thought it was going to cost. We decided to go for it, and I was so relieved to have the pressure of doing an excellent tile job off of my shoulders and on to those of professionals who know what they are doing.
Or so I thought (dun dun dun).
A Marble Hex Tile Disaster: Chapter 2
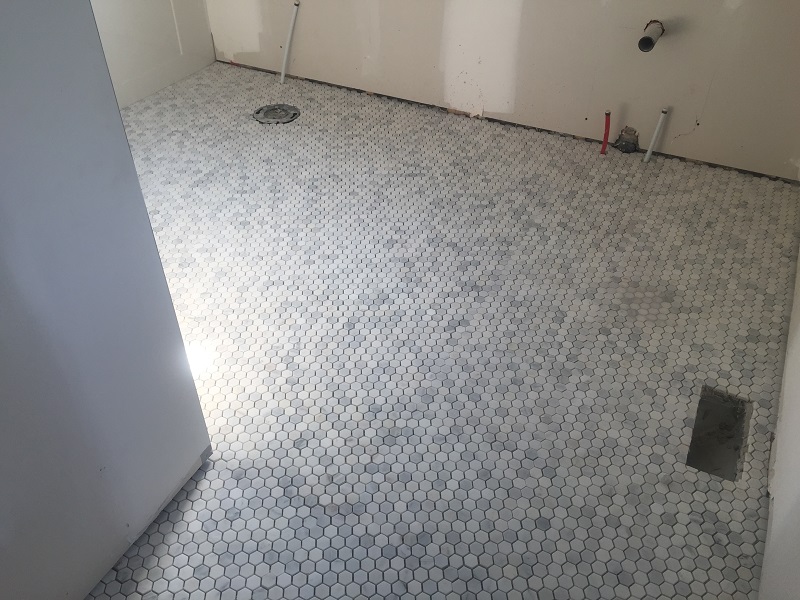
Installed, pre-grout. A thing of beauty!
With having installed a mosaic hex tile floor in the bathroom of our previous house, we already had more knowledge than the average bear thanks to A LOT of research. My favourite online resource for tiling was–and still is–the John Bridge Tile Forum. And thanks to the super-dee-duper folks there, I knew that a cement board backer for the floor would be sufficient, but the ideal subfloor for tiles is a drypack concrete with mesh that looks way too hard and complicated for DIYers like us. So I was pretty excited that the tile guys hired did our floors in drypack.
They LOOKED great. but I was terrified to touch or walk on them because I was afraid they wouldn’t be dry enough and I’d wreck them. And they used white mortar to lay the tiles which I knew was correct so the colour wouldn’t seep through the stone and dull the natural tones of the marble.
And, when you’re living in a disastrous mess, coming home from work to see work done that would have taken hours to complete as well as several years off your life is a real boost. At first anyway.
A Marble Hex Tile Disaster: Chapter 3
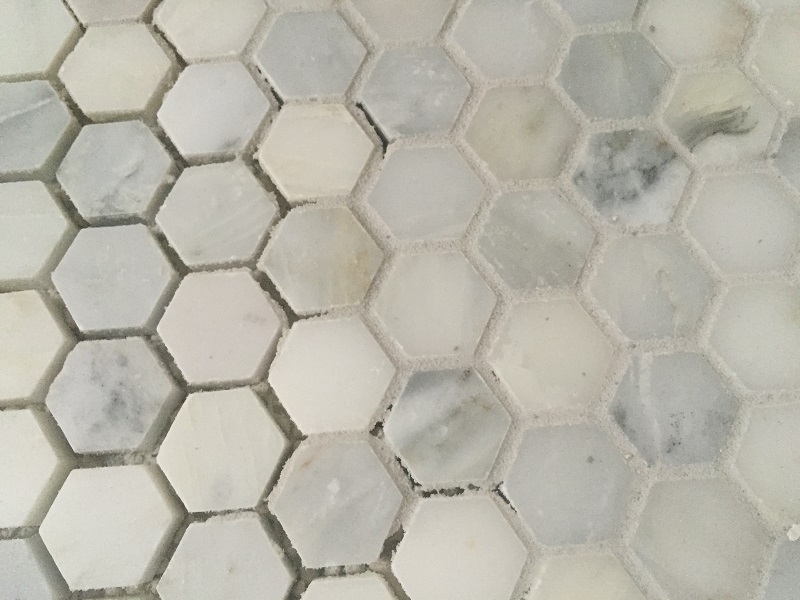
Half-grouted 🙁
Again, because we thought we would be DIYing this floor installation, we had done a great deal of research on installing this particular kind of marble hex tile. We believed, that since the stones were honed and unglazed, and we were choosing a light gray grout, that we would need to pre-seal the tiles after installation and before grouting to prevent the colour from the grout from being absorbed by the stone. We also believed that we would need to use unsanded grout in this instance, instead of the usual sanded grout for floors. It was our understanding that the grit from sanded grout would and could scratch the marble’s surface, causing permanent damage.
We relayed this info both to our contractor, T., as well as the tile guys. And our advice was promptly poo-pooed as over the top and unnecessary with today’s products and methods.
Fine.
Except, it wasn’t fine.
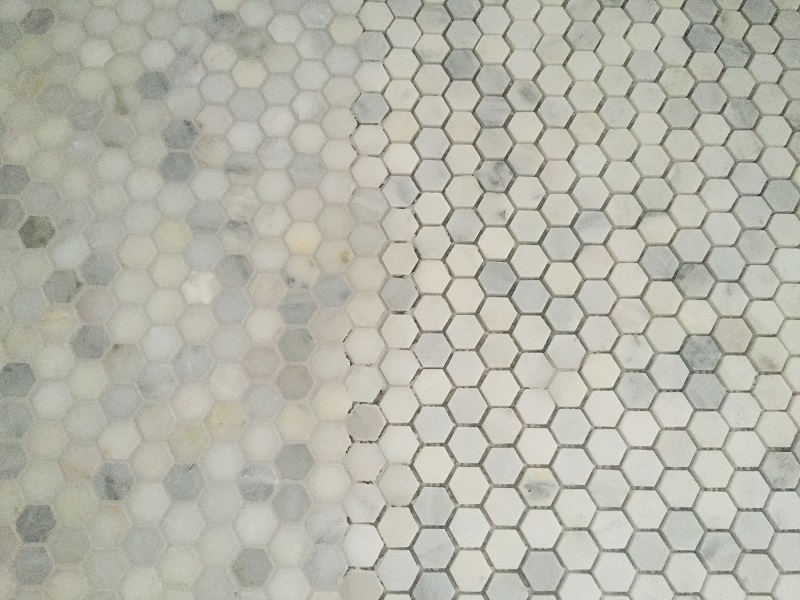
Day 1, half-grouted. Ruined.
After Day 1 of grouting, they were leaving with the floor half-grouted and an awful lot of grout left sitting on the surface of the tiles. All of our research suggested that you needed to get the grout residue off the floors ASAP. I pointed this out to the tile guys before they left for the day, and again was poo-pooed. In hindsight I realize they were too fixated on fixing the mess they made of the other bathroom floor.
I also told T. that they left far too much grout on the surface of the tiles. He told me not to worry. Famous last words.
A Marble Hex Tile Disaster: Chapter 4
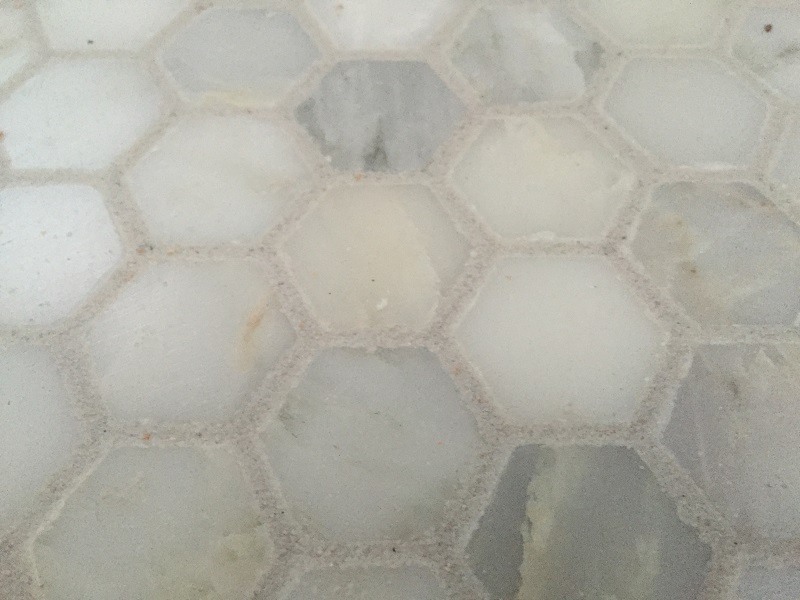
Not the look (or feel) I was going for.
I have never been so sad to be right in my whole life. When they were “finished” the Master Bath floor, the beautiful Carrera marble hex tiles were dull and scratched, and walking on the floor felt like walking on really rough sandpaper. I was devastated.
T. agreed the floor needed to be fixed. They spent a day with some kind of buffing/polishing machine, which resulted in dull tiles with small circular scratches all over them.
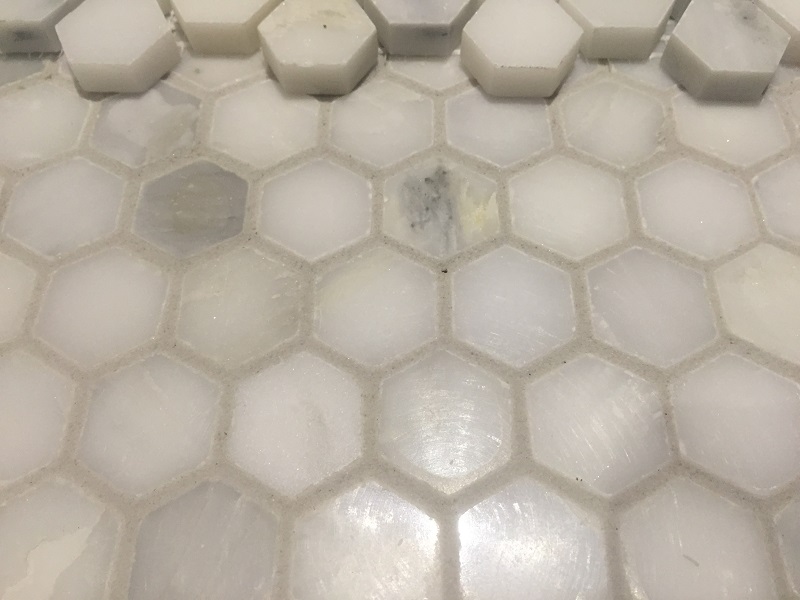
They buffed and they buffed. And they just put shiny circles in the tiles.
I posted our tale of woe onto the John Bridge Forums, and along with some great and some less-helpful advice, the grout manufacturer offered some hope. We purchased their Heavy Duty Sealer and Coating Stripper and that helped remove the dullness, but we still had the issue of the circular scratches and overall awful feeling of the floor.
They buffed and they buffed, but they just couldn’t improve the texture of the tiles. My husband was furious. T. promised to make it right by having them tear it out and start over. I just couldn’t fathom more weeks of mess. Plus, I didn’t trust them to do the job properly.
A Marble Hex Tile Disaster: Chapter 5
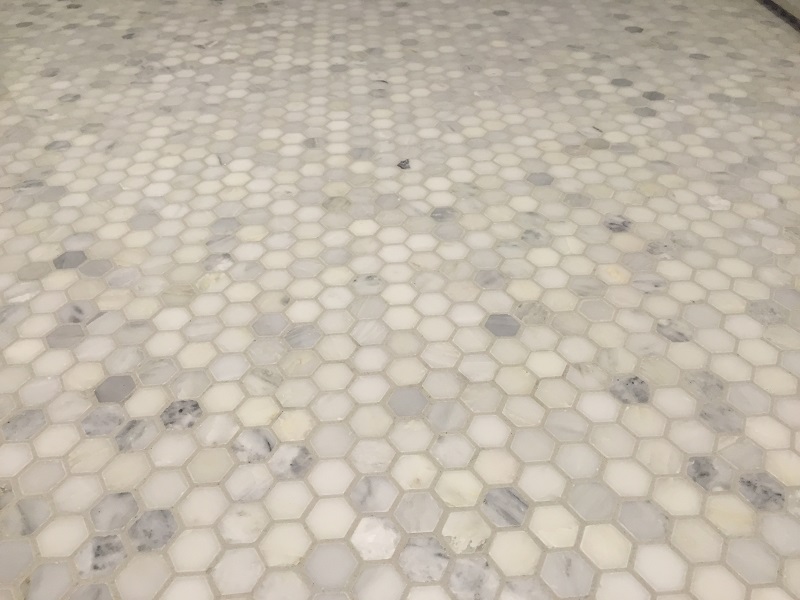
Fixed! Roman saved the day 🙂
I called around to a number of marble refinishing and restorer companies. I re-hashed our saga, sent them photographs, and hoped for the best. All of them said it could be salvaged, at varying timelines and price points. Enter Roman at Ace Marble Polishing. He squeezed us in the week after we contacted him, and in a few hours and for $500, we had our floor back. It’s a tad glossier than I had imagined, but the finish and texture is consistent and also now professionally sealed. I’m SO GLAD he was able to fix it.
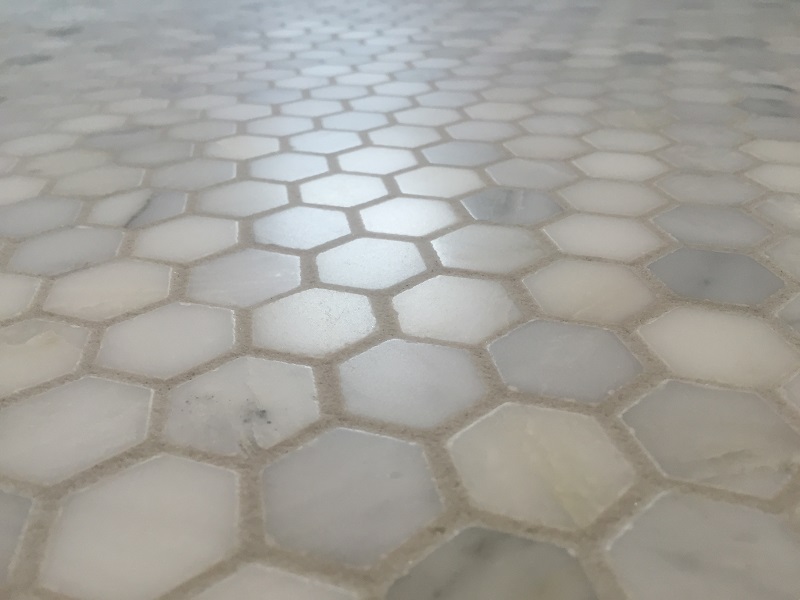
More along the lines of what I was hoping for…
We deducted the $500 we paid Roman from the amount we owed the tile guys. Part of me is still stewing over paying them anything at all (more on that later) but lesson learned (the hard way, as usual) and I guess the moral of the story is that you don’t always get what you pay for, and hiring a professional does not necessarily guarantee a professional-quality job.
A Marble Hex Tile Disaster: Epilogue
The Master Bathroom is the one room that is currently in its most finished state. I love the floor, but I’m also a little afraid of it now. Pre-disaster, I reasoned with myself that the patina a marble floor gains over time is the beauty of using a natural stone, and the odd sploosh of a man with bad aim or a carelessly applied hair product would add character and richness to a room we’ll be using until the end of our days.
I hadn’t thought about what to clean the damn floor with, though.
So far I have just been using plain ol’ hot water. Fortunately the Mr. has decent aim, and the kids only use our bathroom in an emergency, so we’re not subjected to their grossness on a regular basis.
Sometimes I wonder if it would have been much easier if we had just gone with a plain white ceramic hex or penny tile. If we had done it ourselves, possibly. But wait to you see what we’re stuck with in the Main Bath and maybe we got off lucky 🙂
**We paid for the renovations our own damn selves. But if you make a purchase after clicking on a link, we may receive a small commission.**
Leave a Reply